 ShopNx
Pay by UPI
Take UPI payments straight into your own bank account, with no payment gateway and no gateway fee. Shoppers pay from any UPI app; you check your bank app and mark the order paid.
- You, onceSwitch it on and enter your UPI ID
- ShopperChooses Pay by UPI and places the order
- ShopperScans the QR or taps the button, then enters the UPI reference
- YouFind the payment in your bank app and press Mark paid
Switch it on
- Go to Settings › Payment methods.
- Find Pay by UPI and press Activate.
- Press Configure and fill in your UPI ID, exactly as your bank or UPI app shows it, for example
yourshop@okhdfcbank. It is required. Payee name is the name shoppers see in their UPI app; leave it empty to use your store name. - Press Save. Pay by UPI now shows at checkout next to your other payment methods.
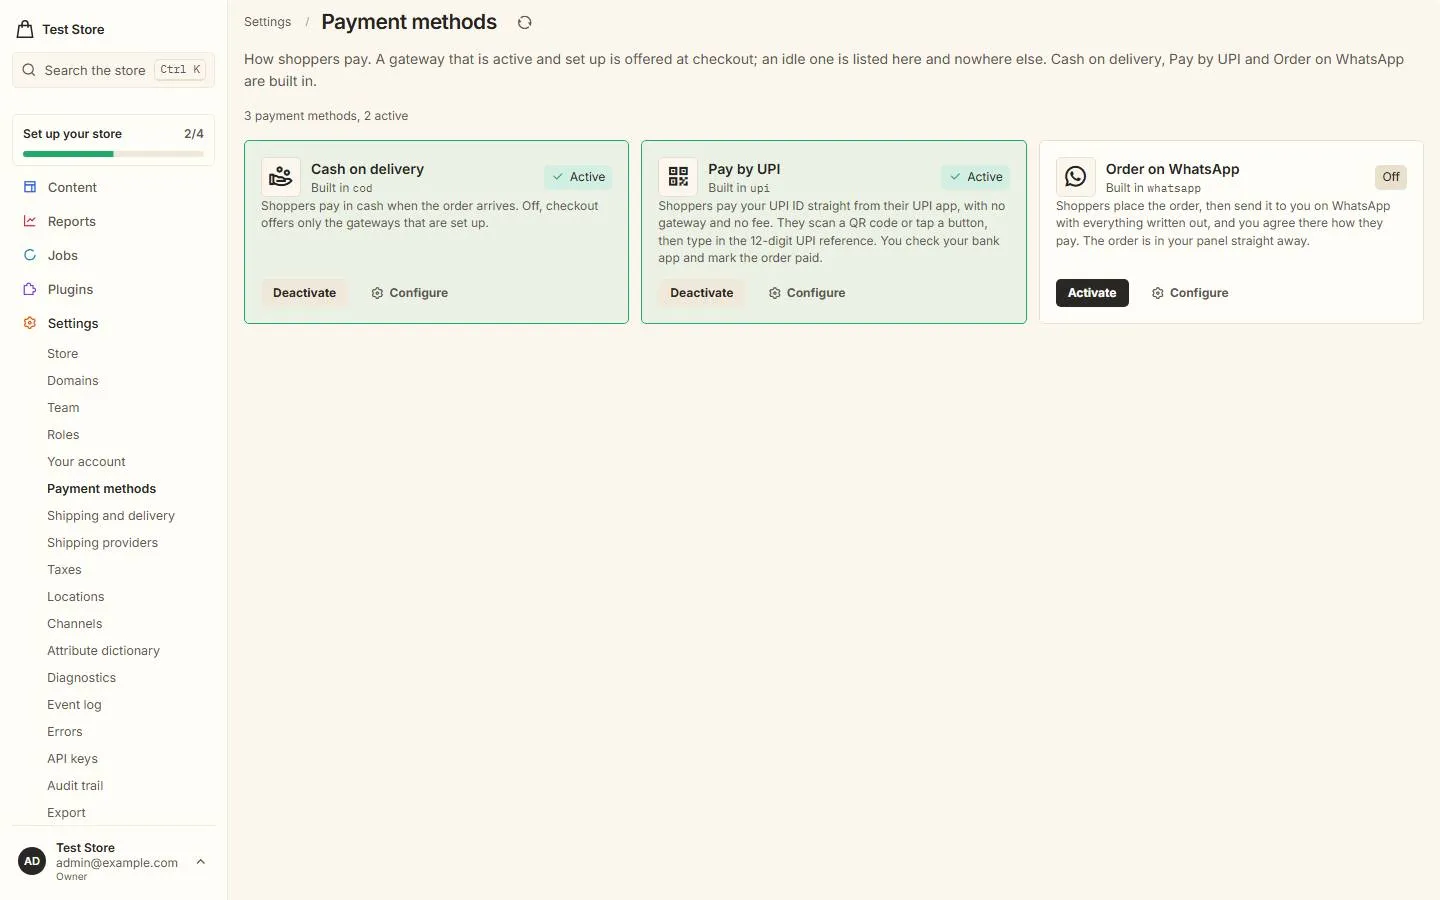
Use a business UPI ID. A QR from your bank's current account, PhonePe Business or Paytm Business is best. Banks can limit a personal UPI ID that receives a lot of shop payments.
Pay by UPI is offered only when your store sells in Indian rupees.
What your shopper sees
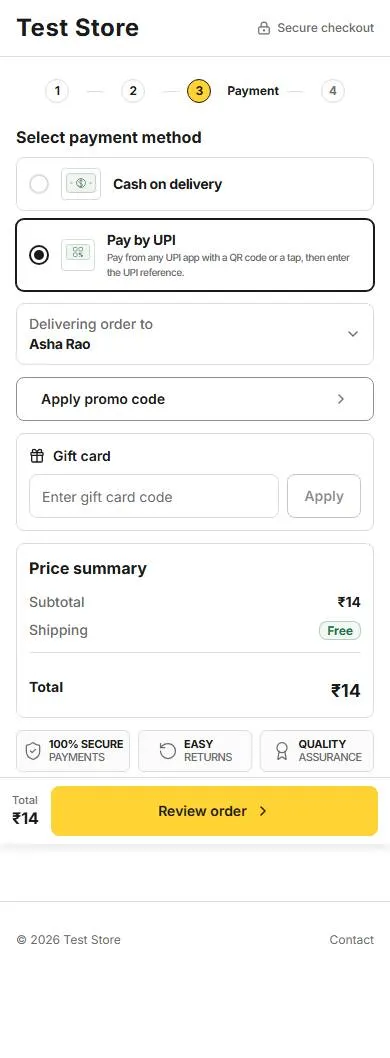
On the payment step the shopper picks Pay by UPI and places the order. The order is placed straight away and waits for payment, just like cash on delivery. There is no extra charge.
The order page then shows a QR code and a Pay with UPI app button. The amount, your payee name and the order number are already filled in, so the shopper can't pay the wrong amount. On a phone the button comes first and opens their UPI app; on a computer the QR comes first, to scan with a phone.

After paying, the shopper types the 12-digit UPI reference from their UPI app (also called the UTR or transaction ID) and presses Send reference. They can correct it until you mark the order paid, and come back to it later from the order tracking page or their account.

Confirm the payment
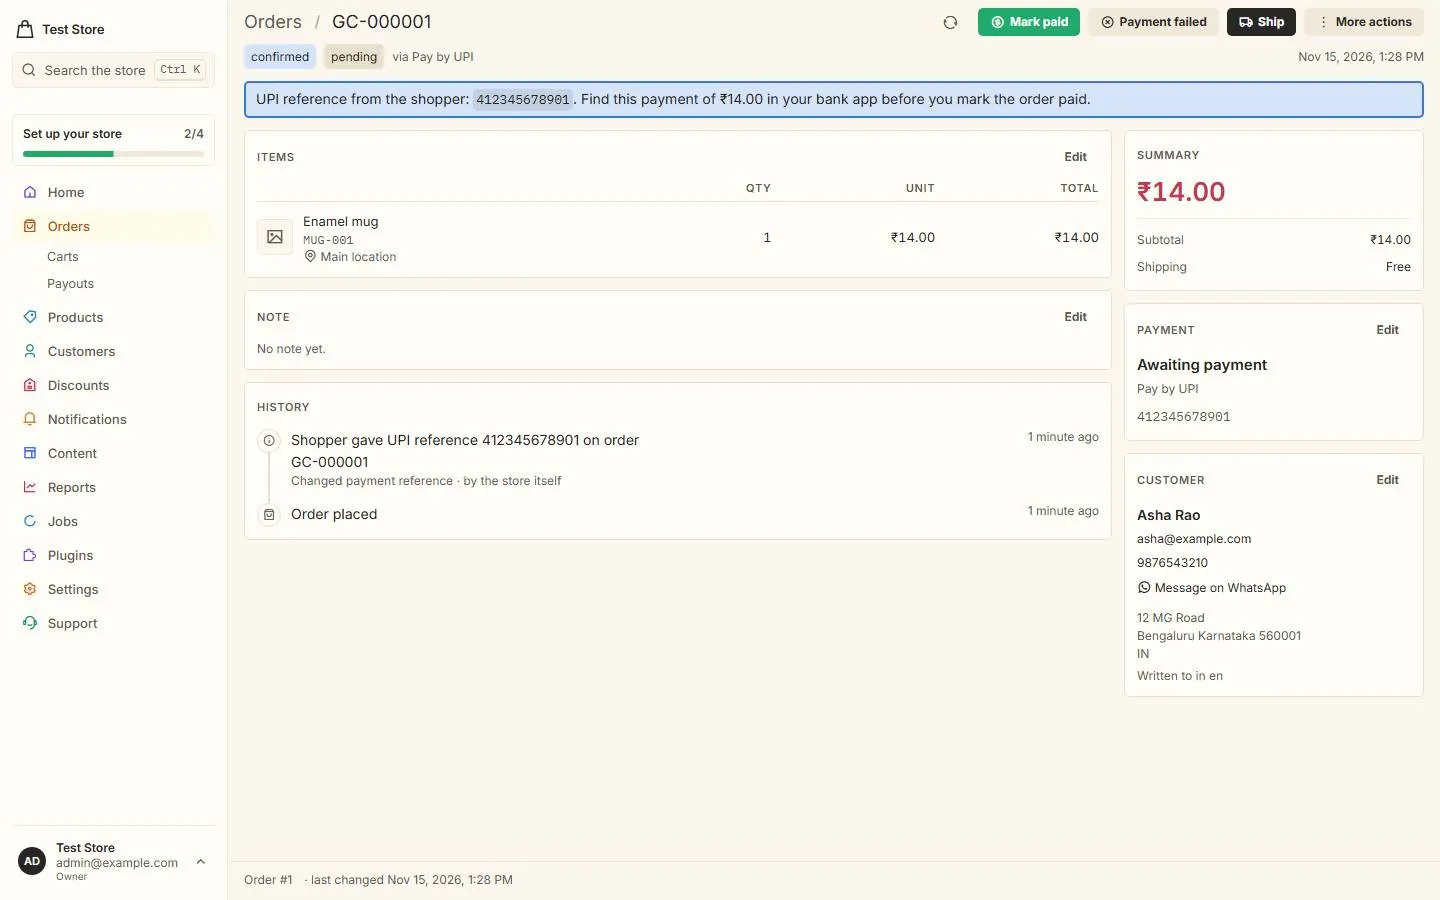
- Open the order under Orders. It shows the shopper's UPI reference and the amount to look for.
- Open your bank or UPI business app and find a payment with that reference and amount.
- When you have found it, press Mark paid on the order. The order keeps the reference for your records.
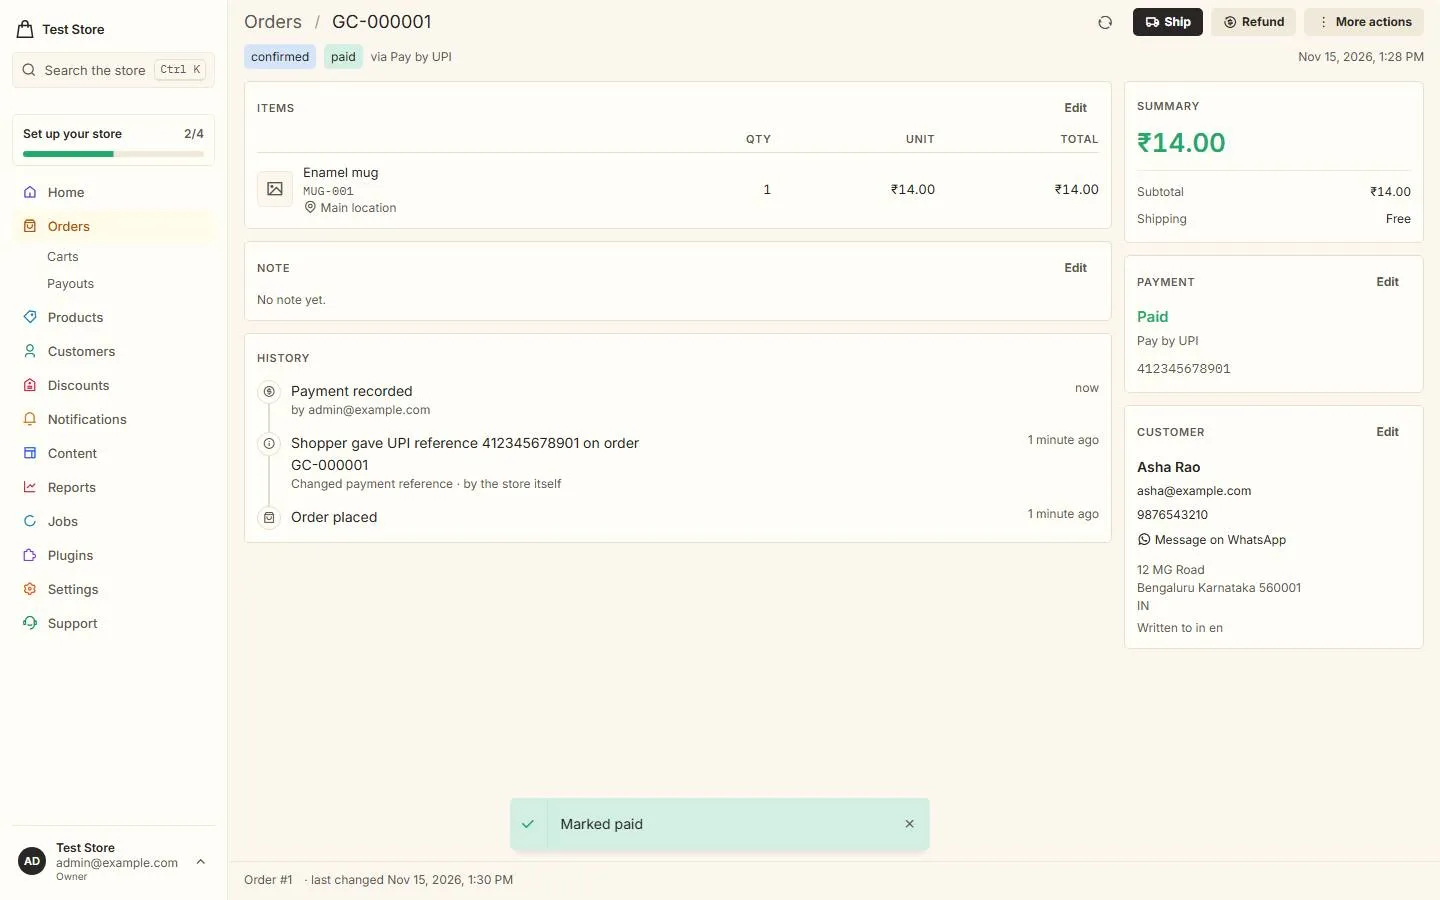
Always check your bank app, never a screenshot. ShopNx can't see your bank account, so it doesn't confirm payments by itself. Fake "payment done" screenshots are a common trick; only money that has arrived in your bank counts.
Ship the order only after you have marked it paid. Several orders can be marked paid at once from the Orders list.
Good to know
- Fees: ShopNx adds nothing and there is no gateway in between. The money goes from the shopper's UPI app to your UPI ID.
- Refunds are sent back by you from your bank or UPI app.
- Unpaid orders: if a shopper never pays, cancel the order so the stock is released.
- Cards and netbanking need a payment company such as Razorpay or Cashfree, which you can keep on alongside Pay by UPI.
- Discounts meant only for prepaid orders also apply to Pay by UPI, since you ship only after the money is in.